Get FSX Add-Ons at FlightSim.com

General 468-1

Saturday, October 17, 2009

Flying Hawaii with High Quality Add Ons

In this FSX tutorial article we look at the interaction of the scenery and traffic FSX add ons. The setup of Flight Simulator X to make these packages play well together is described.

The Machine:

In order to be able to have enough performance to run the simulation in real time at full HD video resolution, my PC is equipped as follows:

OS and CPU:

OS Name Microsoft® Windows Vista™ Ultimate
Version 6.0.6002 Service Pack 2 Build 6002
System Type x64-based PC
Processor Intel(R) Core(TM) i7 CPU 920 @ 2.67GHz, 2668 Mhz, 4 Core(s), 8 Logical Processor(s)
Installed Physical Memory (RAM) 6.00 GB

Graphics Card:
Graphics Card Manufacturer Built by ATI
Graphics Chipset ATI Radeon HD 4800 Series
Device ID 9460
Graphics Bus Capability PCI Express 2.0
Maximum Bus Setting PCI Express 2.0 x16
Memory Size 1024 MB
Memory Type GDDR5
Core Clock in MHz 850 MHz
Memory Clock in MHz 975 MHz
Total Memory Bandwidth in GByte/s 124.8 GByte/s

Monitor:

HP w2408

The FSX Setup:

Flight Simulator FSX Gold Deluxe is installed plus two of my favorite add ons:

1. MegaScenery Hawaii Oahu
2. Ultimate Traffic 2 (Demo) - Now Released!!

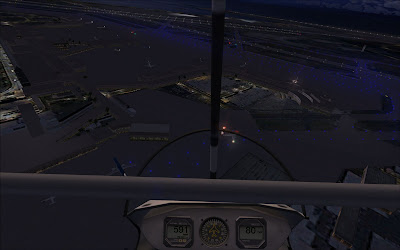
In this scene, we see Honolulu International from the air in full High Definition (1920x1080 pixels) , notice the airport 3D features such as the buildings are on top of the MegaScenery 2D image of the area. You can see the aircraft lights lighting up the tarmac as they taxi or sit at the gate.


The FSX scenery library settings are first setup as follows:
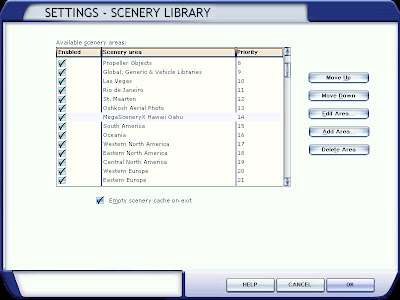


Note that in the Scenery Library settings that the MegaSceneryX Hawaii Oahu is in position 14 above "South America" as it is part of the base scenery for FSX Gold Deluxe. Some of the scenery files are left above MegaScenery as they have unique components and only cover those areas needed for Las Vegas, etc. Note that you can turn on and off different scenery areas by unclicking the Enabled check mark to the left of the Scenery Area.

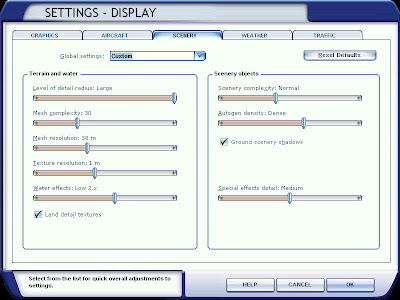
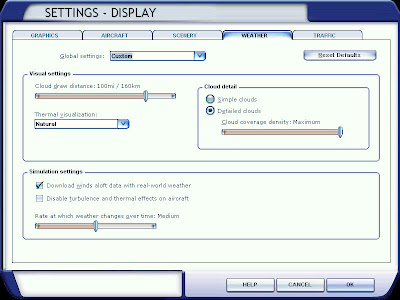
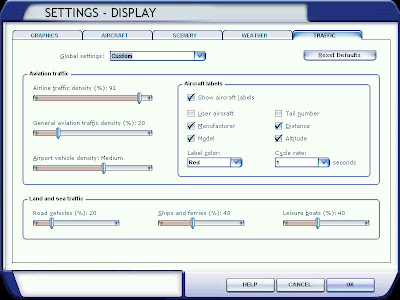
After setting up the scenery in the correct priority, the FSX settings must then be setup to display the best picture your hardware can produce, some of the settings are more fine grained than others. As an example you can select whether you want to have light bloom occur when a landing light is pointed at you.

1. Display
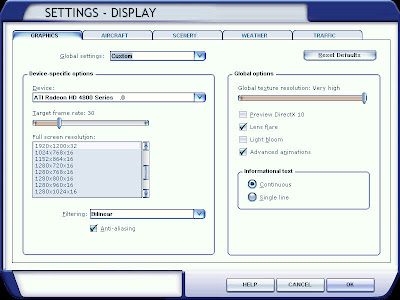


2. Aircraft
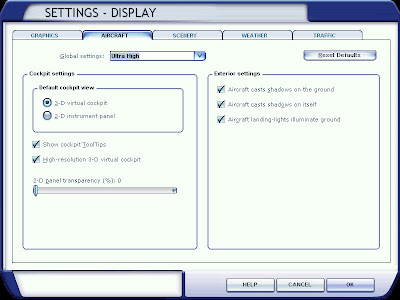


3. Scenery


4. Weather


5. Traffic

Results:

Flying FSX with the addition of these add-ons provides a more accurate and realistic view of the world, adding traffic in the skies and on the ground.

And now a couple of pictures you might like:

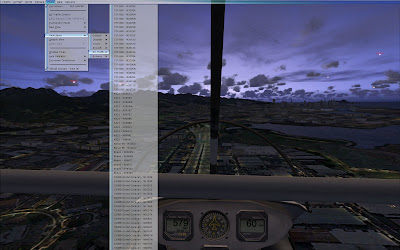
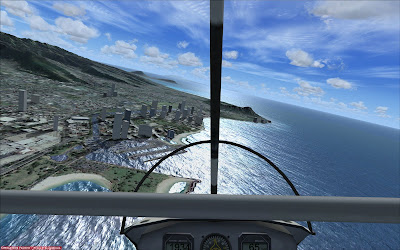
First, a picture with some traffic over Honolulu


Second a view of Waikiki:


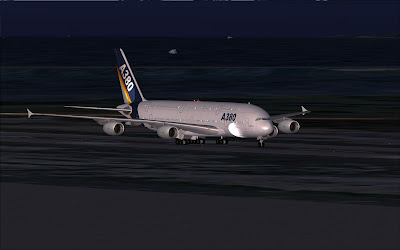
And finally a slightly larger aircraft to take you home:


Posted by: Erik Whitehead

Wednesday, October 14, 2009

Flight Simulator FSX Scenery Tutorial 2

Adjusting Settings

When you install your add-on scenery, you need to take into account how fast your computer and graphics capability are. The rate at which the screens are updated while you fly affects how smooth the view outside of your cockpit will be.

The higher the resolution setting, the slower the view updates will be accomplished. The view update rate is also known as "frame rate". Standard USA television frame rates are actually about 30 frames per second. If your computer can support that rate, you will get nearly flawless views. A high end computer today with a high end graphics card can drive the view at this frame rate in High Definition (1920 by 1080) with all scenery settings at their highest settings.

Additional Considerations

If you also buy (aircraft) traffic generating add-ons such as Ultimate Traffic X, the processing load goes up considerably, and a faster processor and hard disk will help keep the simulation running at full speed with no affect on frame rate.

Traffic generators create airline traffic and general aircraft traffic at large airports. In my case, the Phoenix Sky Harbor airport is simulated with the complete airline schedule with "MegaScenery X Phoenix" providing the scenery on the ground, and Ultimate Traffic providing the airline traffic including ground traffic, autos on the freeway, etc. Ultimate Terrain provides the roads and other enhancements to Phoenix, so that it looks like a real city, especially at night.

Monday, October 12, 2009

Flight Simulator FSX Scenery Tutorial 1


Flight Simulator FSX Scenery Tutorial
Very significant advances in scenery for Microsoft Flight Simulator X have been introduced over the past few years. High definition monitors along with ever faster 3D graphics have made what once was a future dream of realistic flight scenery on a moderate cost desktop PC a stark reality today.  This FSX tutorial provides an introduction to scenery for new FSX pilots.
FSX Native Scenery
FSX out of the box provides a set of scenery covering the world which provides a limited set of scenery at reduced resolution. Scenery is displayed of natural 3D terrain, some stock building types and specific buildings created for well known landmarks such as the Las Vegas strip.
Adding Scenery to FSX
Numerous advancements in FSX scenery such as the MegasceneryX disks from www.megasceneryearth.com provide a great view while flying your simulated aircraft. The scenery view of the ground is displayed at 1.19 meters per pixel. This resolution combined with the topographic mapping creates the 3D effect of mountains and other natural features in the area you are flying in.
By buying Flight Simulator Gold Edition, which includes FSX Deluxe and the Acceleration Expansion Pack, you will experience the fastest performance possible from your computer. The scenery add-ons provide higher resolution imagery so that you can find your own house (if you live in an area with good satellite imagery).
Other Scenery
Also available are special interest area scenery packs which provide 3D items from areas such as the Kennedy Space Center in Florida.